
把老式恒温器改造成现代节能器
2015年11月24日通过杰森Poel史密斯可编程恒温器可以节省很多能源和金钱。但是你不需要买一个——你可以用Arduino和伺服把一个旧的机械温控器转换成一个可编程温控器。
有老式恒温器吗?用这个rad项目更新它!
可编程恒温器是既节省能源又省钱的好方法。但你不需要出去买一个:你可以升级你的旧机械恒温器!你只需要一个Arduino微控制器和一个伺服电机。
伺服被定位在恒温器旁边,然后伺服的转子连接到控制温度设置的恒温器的手臂。然后Arduino可以使用伺服来调整一天中不同时间段恒温器的温度设置。

材料
Arduino单片机
Arduino连接器电缆
伺服电机
2个瞬间开关
2个100科姆电阻
大型回形针(或其他钢丝)
跳线
的代码
下面是这个项目的Arduino代码的副本。下载代码并在Arduino编程编辑器中打开它。您需要做的第一件事是在变量“defaultTemperature”中设置默认温度(华氏度)。“这将是你的房子大多数时候的温度。在整个星期内,温度将会从这个基准线向上或向下调整。
接下来,您需要设置每小时的温度调整。这些数据存储在一个名为“dayTimeArray[7][24]”的二维数组中。”The array is divided into days of the week and individual hours in each day. Each hour of the week is initially set to 0. This means that at this time the temperature setting is equal to the default temperature. To adjust this, enter a value for that hour (positive or negative) that represents the number of degrees up or down that you would like to change the temperature setting relative to the default temperature. For example, if the default temperature is 68 degrees and you want the temperature at a certain time to be 66 degrees, then you would enter a value of “-2” for that position in the array. Enter in the temperature adjustments for each hour of the week.
继续代码,您需要输入一周中的当前一天(0到6)、一天中的小时(0到23)和分钟(0到59)的数值。它们都存储在自己的变量中。
在它下面,你会发现一个名为“servoTemperatureConversion”的变量。”This represents the number of degrees of the servo’s rotation correspond to a degree change on the thermostat. You can adjust this to calibrate the system to your specific servo. But you will want to wait until you can attached the servo rotor to the adjustment arm of the thermostat.
对代码进行了所有必要的更改后,将其上传到Arduino。
Programmable_Thermostat_Arduino_Code.zip

连接开关和伺服器
Arduino上有两个开关可以让你手动调节温度而无需重新编程系统。为此,你需要两个瞬间开关。每个开关的一侧连接5V。交换机的另一边连接到数字引脚10和11。然后数字引脚10和11也连接到GND 100 kohm电阻。这些电阻作为下拉电阻,并将保持数字引脚在低状态,直到按钮被按下。这可以防止由电气噪声造成的误触发。为了避免开关跳跃(系统将一个按钮的按下解释为多个按钮的按下),它设置的代码每秒只接受一个开关的输入。
伺服装置有三根电线。一根电线(通常是红色的)连接到5V。另一根电线(通常是棕色或黑色)连接到GND。第三根电线(本例中为橙色)是信号线,连接到数字引脚9。不同的制造商使用不同的颜色代码,所以找到适合你的伺服系统的颜色。

将伺服装置安装在温控器的侧面
你要做的下一件事就是把伺服装置固定在恒温器的一侧。最简单的方法是滴一大滴热熔胶。确保转子上的安装孔与温控器调节臂的头部水平对齐。
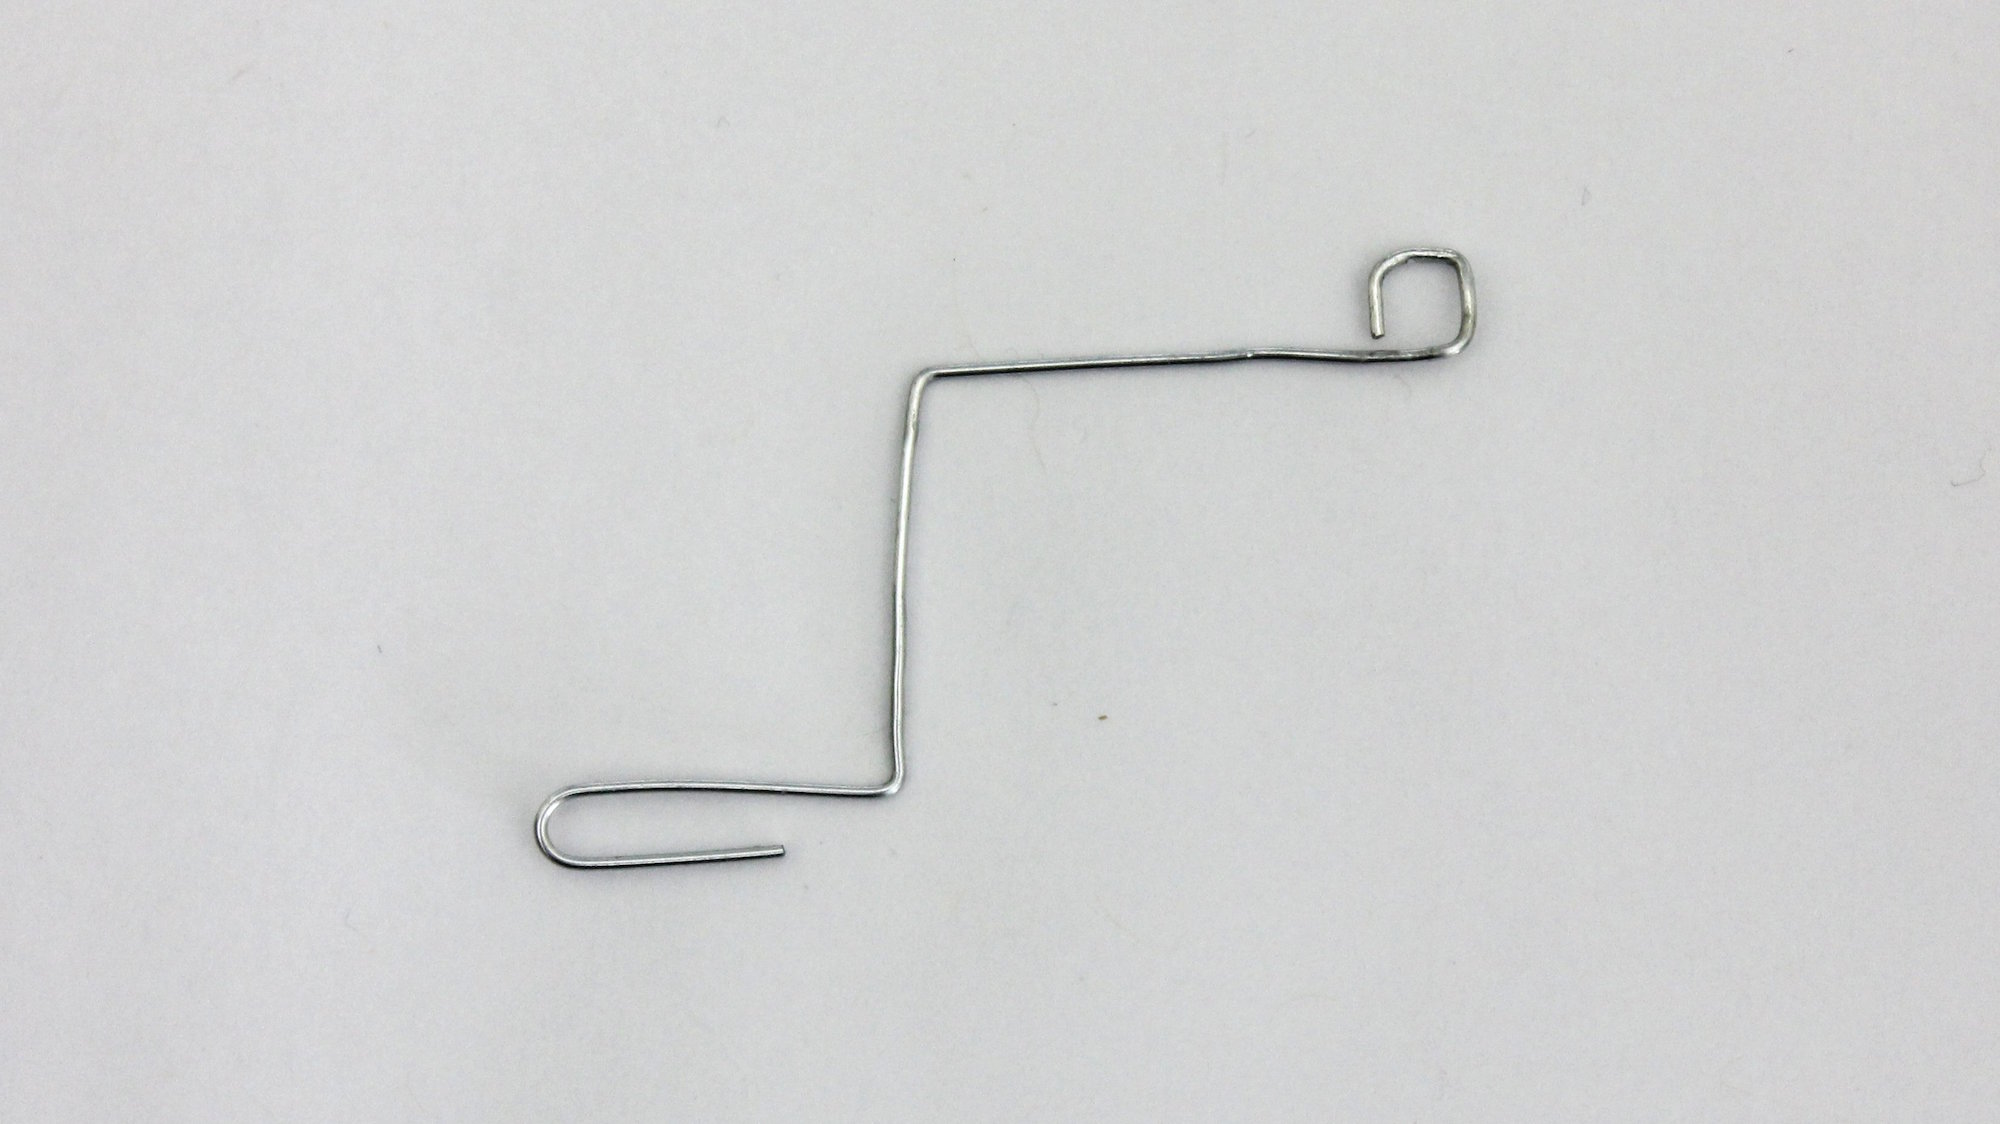
连接伺服的转子到温控器的温度设置臂
连接伺服转子和温控器臂的最简单的方法是用一根钢丝。设置伺服到默认位置(通过打开Arduino)和设置恒温器的默认温度。我只是用了一个大回形针。首先我把电线拉直,然后我把它弯成可以连接两部分的形状。最后,我把铁丝弯成一个圈,在每一端固定碎片。

使用恒温器
现在你的DIY可编程恒温器应该工作了。它会自动为你调整整个星期的温度。如果要手动调节温度,你可以按向上或向下按钮,所有的温度设置都会向上或向下移动一度。
记住,如果Arduino断电了,它会重新启动程序,所以如果断电了,记得重置日期和时间。
自己尝试一下这个项目吧!BOM。


